How Can We Help?
vCPE Installation Guide
Introduction
zWAN vCPE allows organizations to install a virtual CPE appliance in a datacenter or branch environment. This gives organizations the flexibility to leverage any x86 hardware in order to gain all the benefits from zWAN’s SD-WAN solution. This guide will walk network administrators through the required steps to get vCPE installed.
Minimum Requirements
Below are the minimum requirements in order to install vCPE:
- CPU: 4 cores
- RAM: 4 GB
- Storage: 64 GB SSD
- OS: Ubuntu 18.04+
- Network Interfaces: 3 interfaces (1x Management, 1x LAN, 1x WAN)
- Services: KVM
Installation
Follow the steps below in order to install vCPE in a datacenter or branch environment:
- The AmZetta Support Team will give you FTP credentials in order to download the vCPE installer from AmZetta’s dedicated FTP server. If you have not received your credentials yet, please contact the support team at [email protected]. Once you have your credentials, download the vcpe_deployment.zip file to your Ubuntu server.
- Run the customer_deploy.sh script as root with the following command:
sudo customer_deploy.sh - You will see the following prompt to confirm that you want to install vCPE on the server. Click Yes.

- A system check will be run to make sure that the server meets all the requirements to run vCPE. If this check fails, a detailed explanation of what is required will be shown.
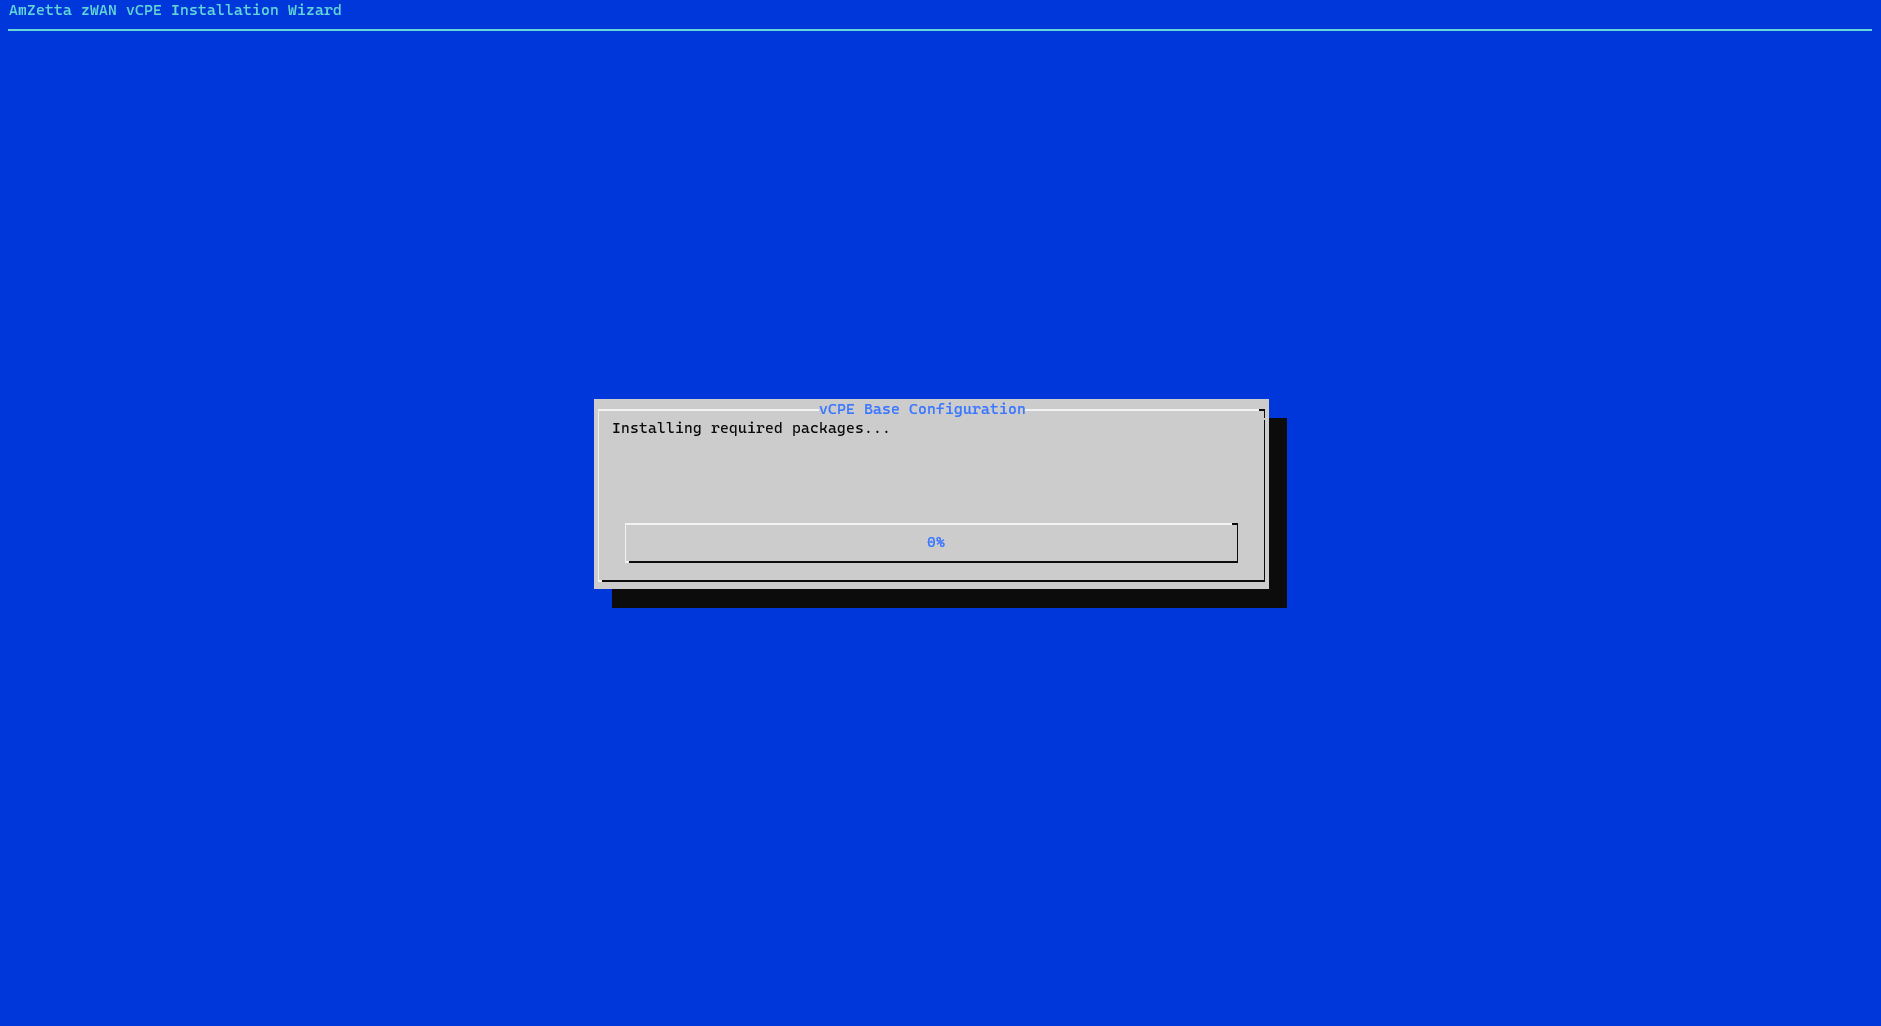
- The installer will check for, and install, any required packages that are missing.
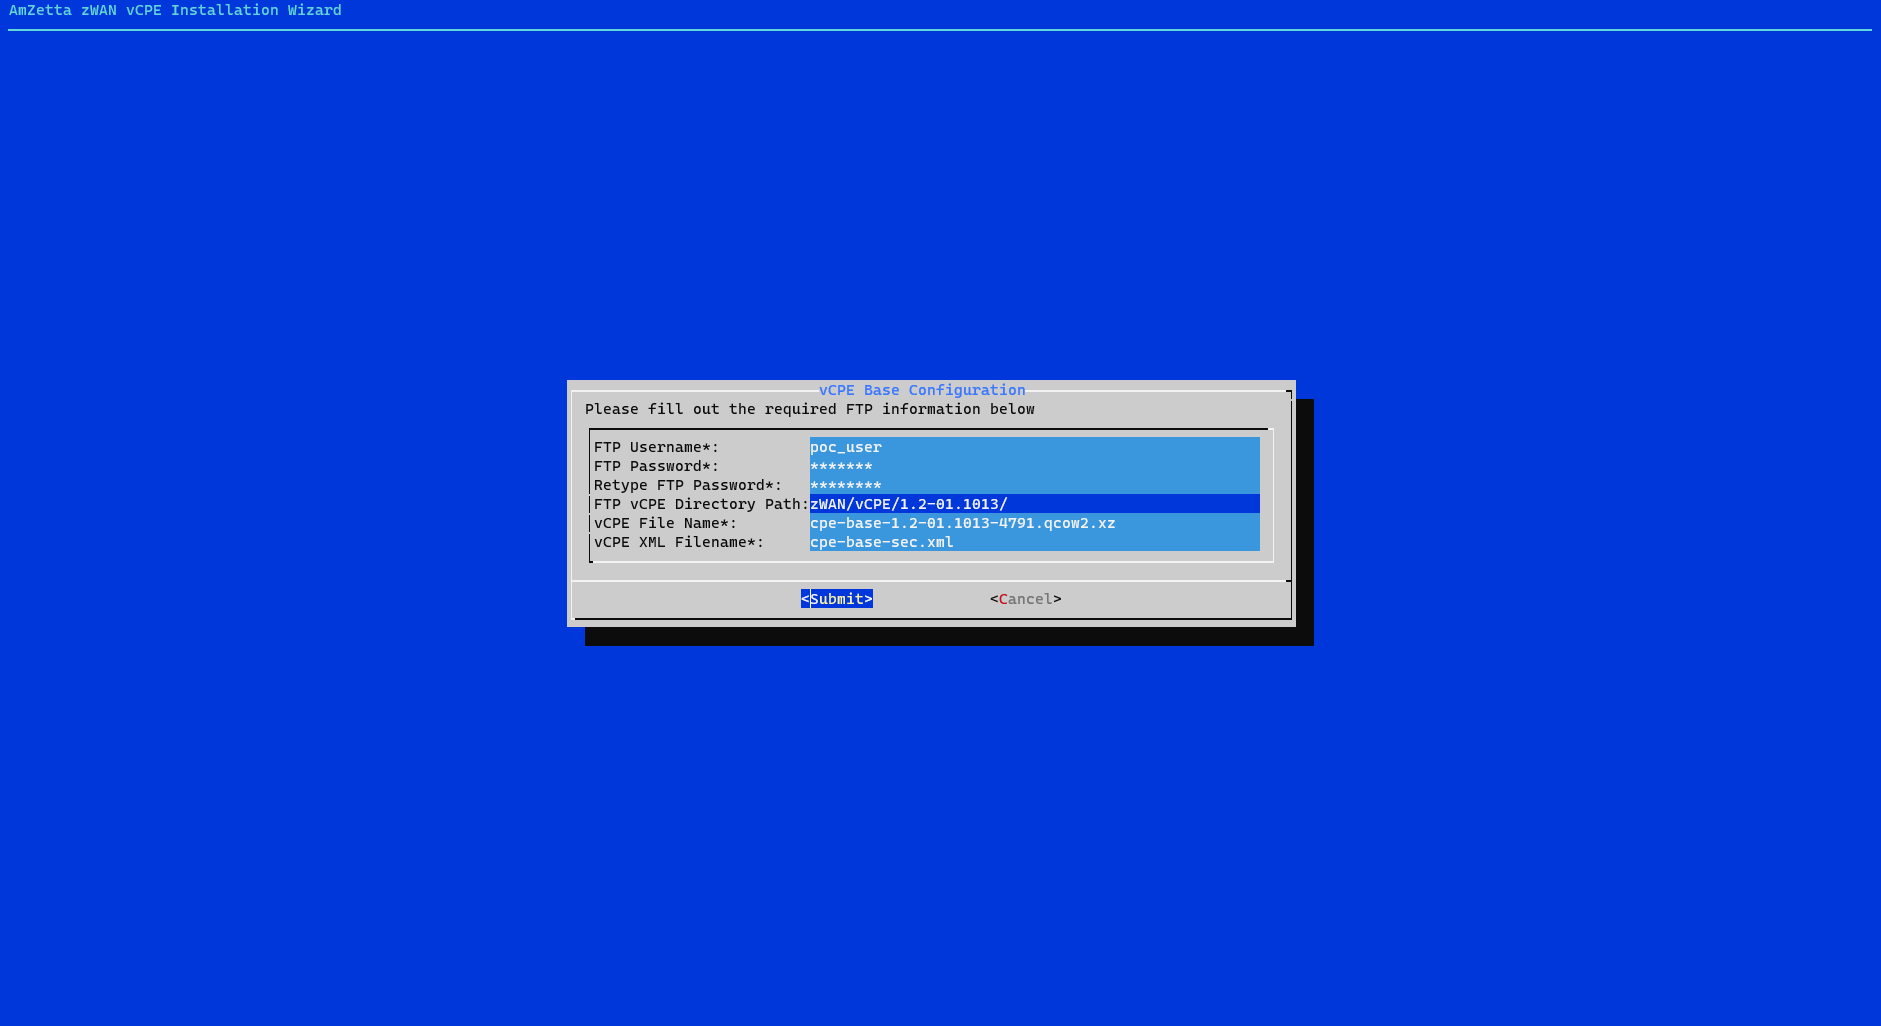
- The installer will ask for FTP credentials next. Please input the same credentials that you used to download installer in step one. For the vCPE directory, please input the directory where the vCPE images are located. Typically, this will be in the vCPE folder.
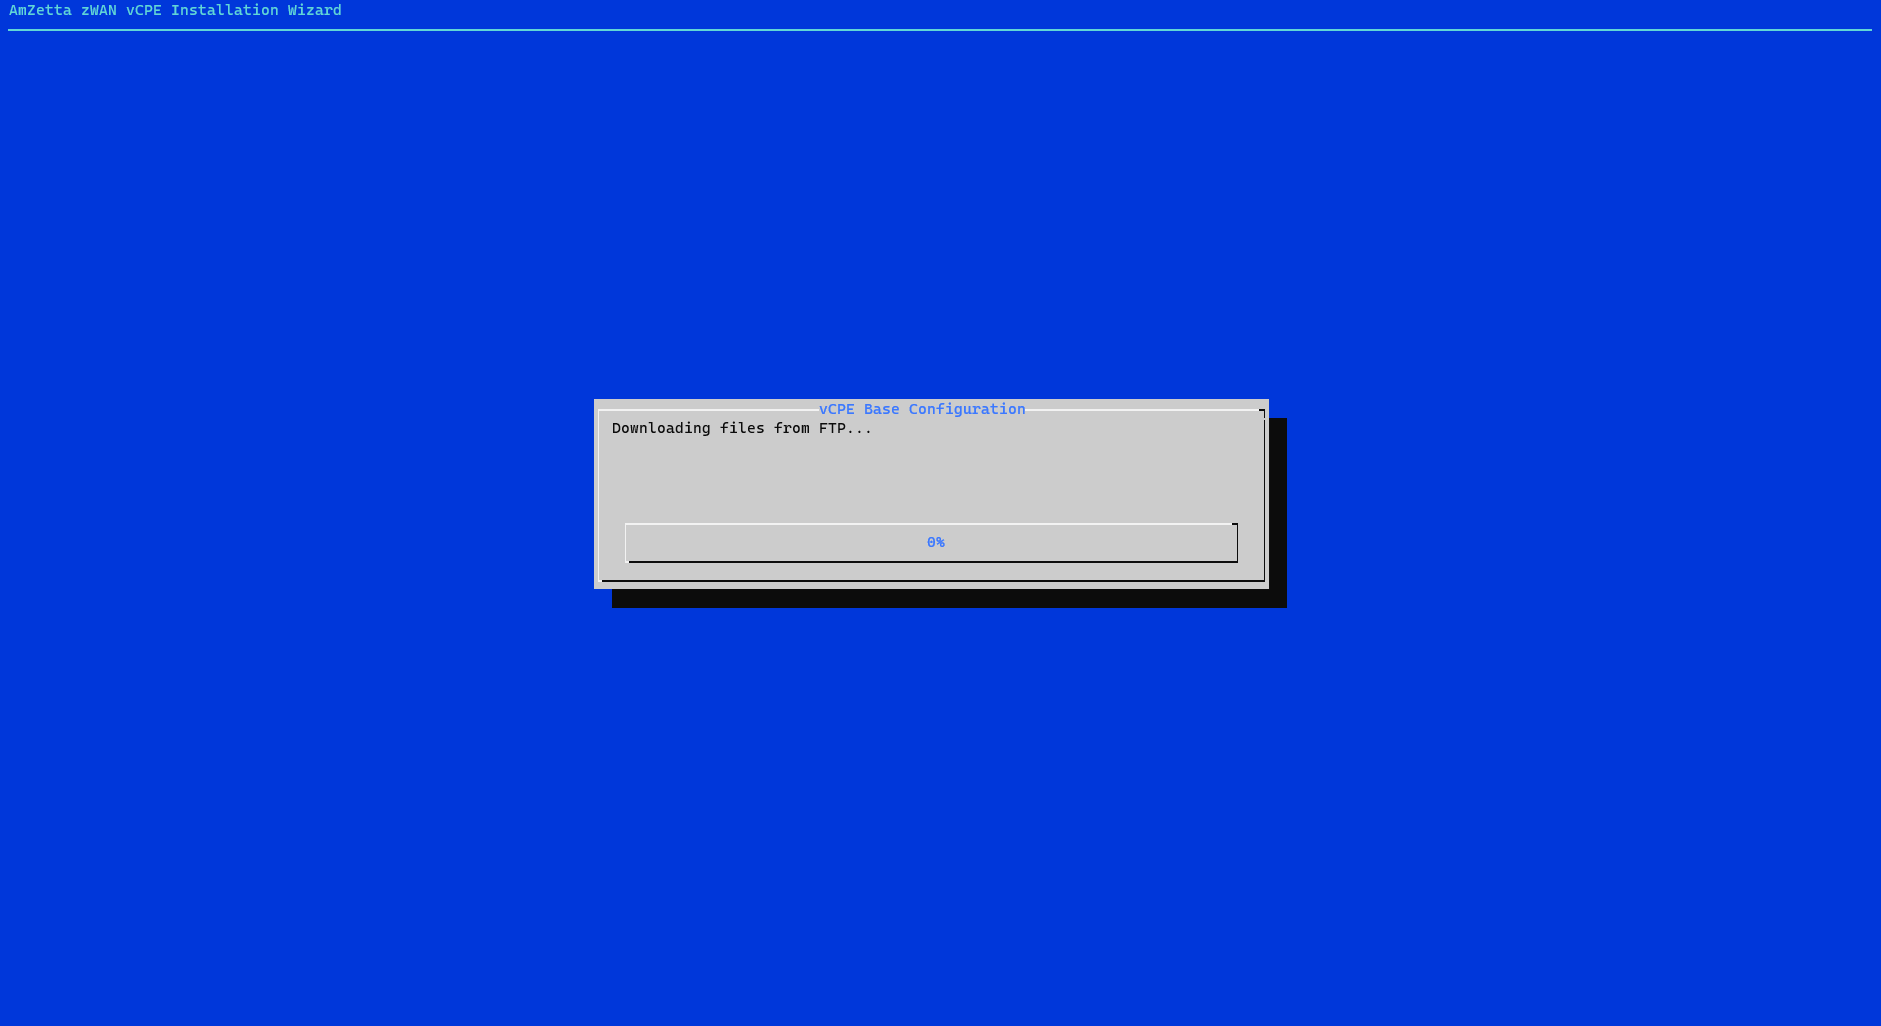
- The files will be downloaded from the FTP server if proper credentials where given in the previous step. This may take a little while, depending on the host server’s internet connection.
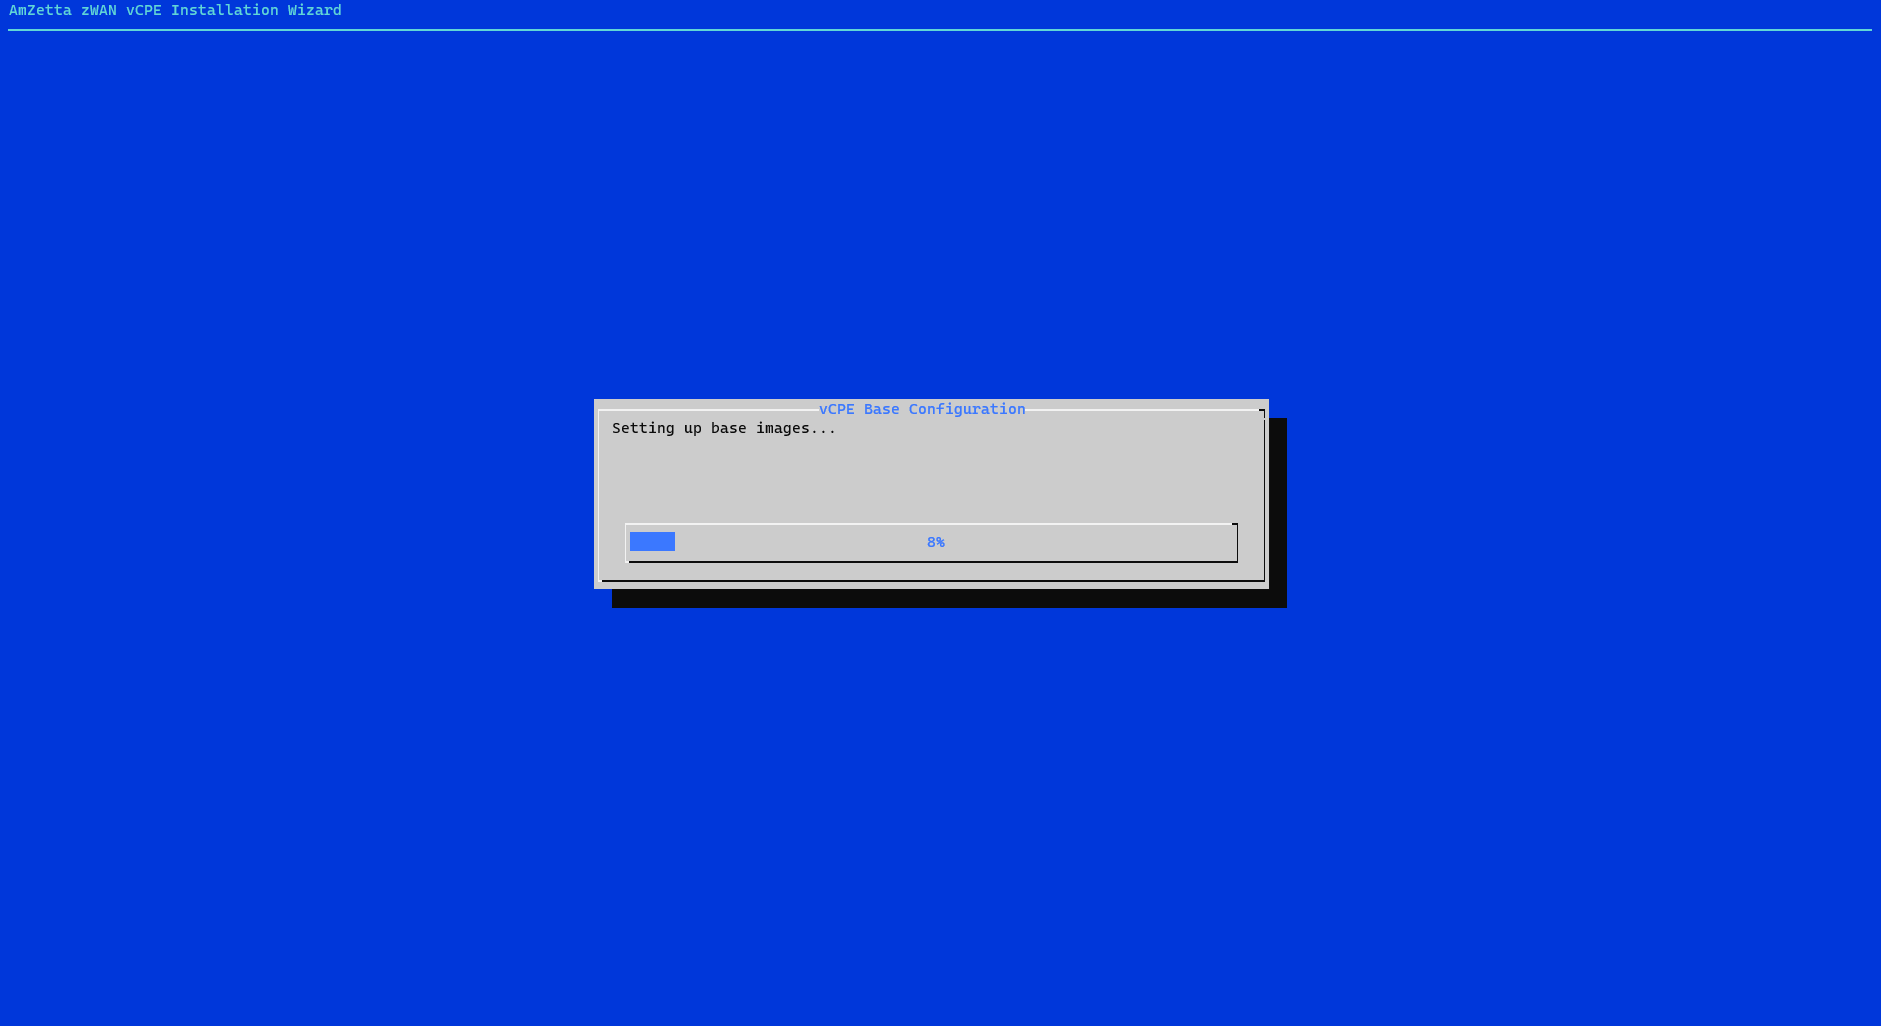
- Once the images are downloaded, the base CPE image will be setup to be used as a golden image for vCPE deployment.
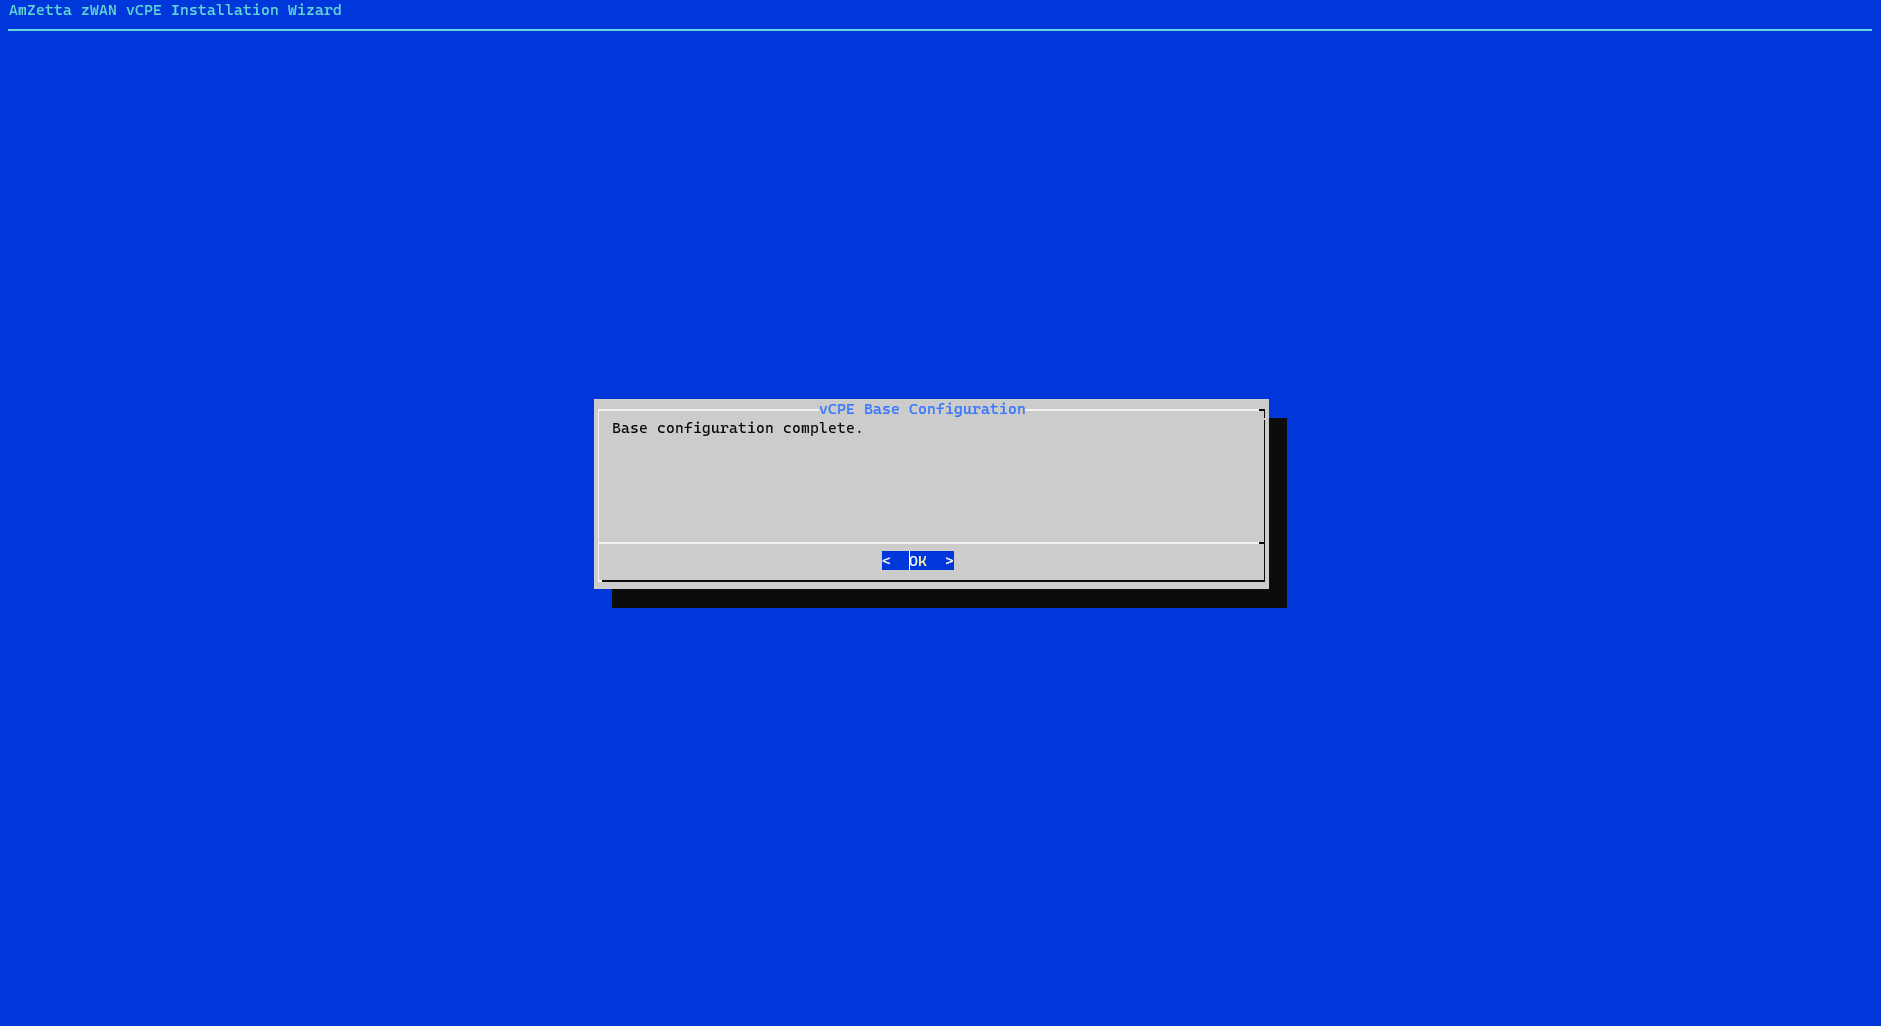
- Once that is complete, you will be prompted that the base configuration is complete. Click OK in order to continue with the vCPE deployment.
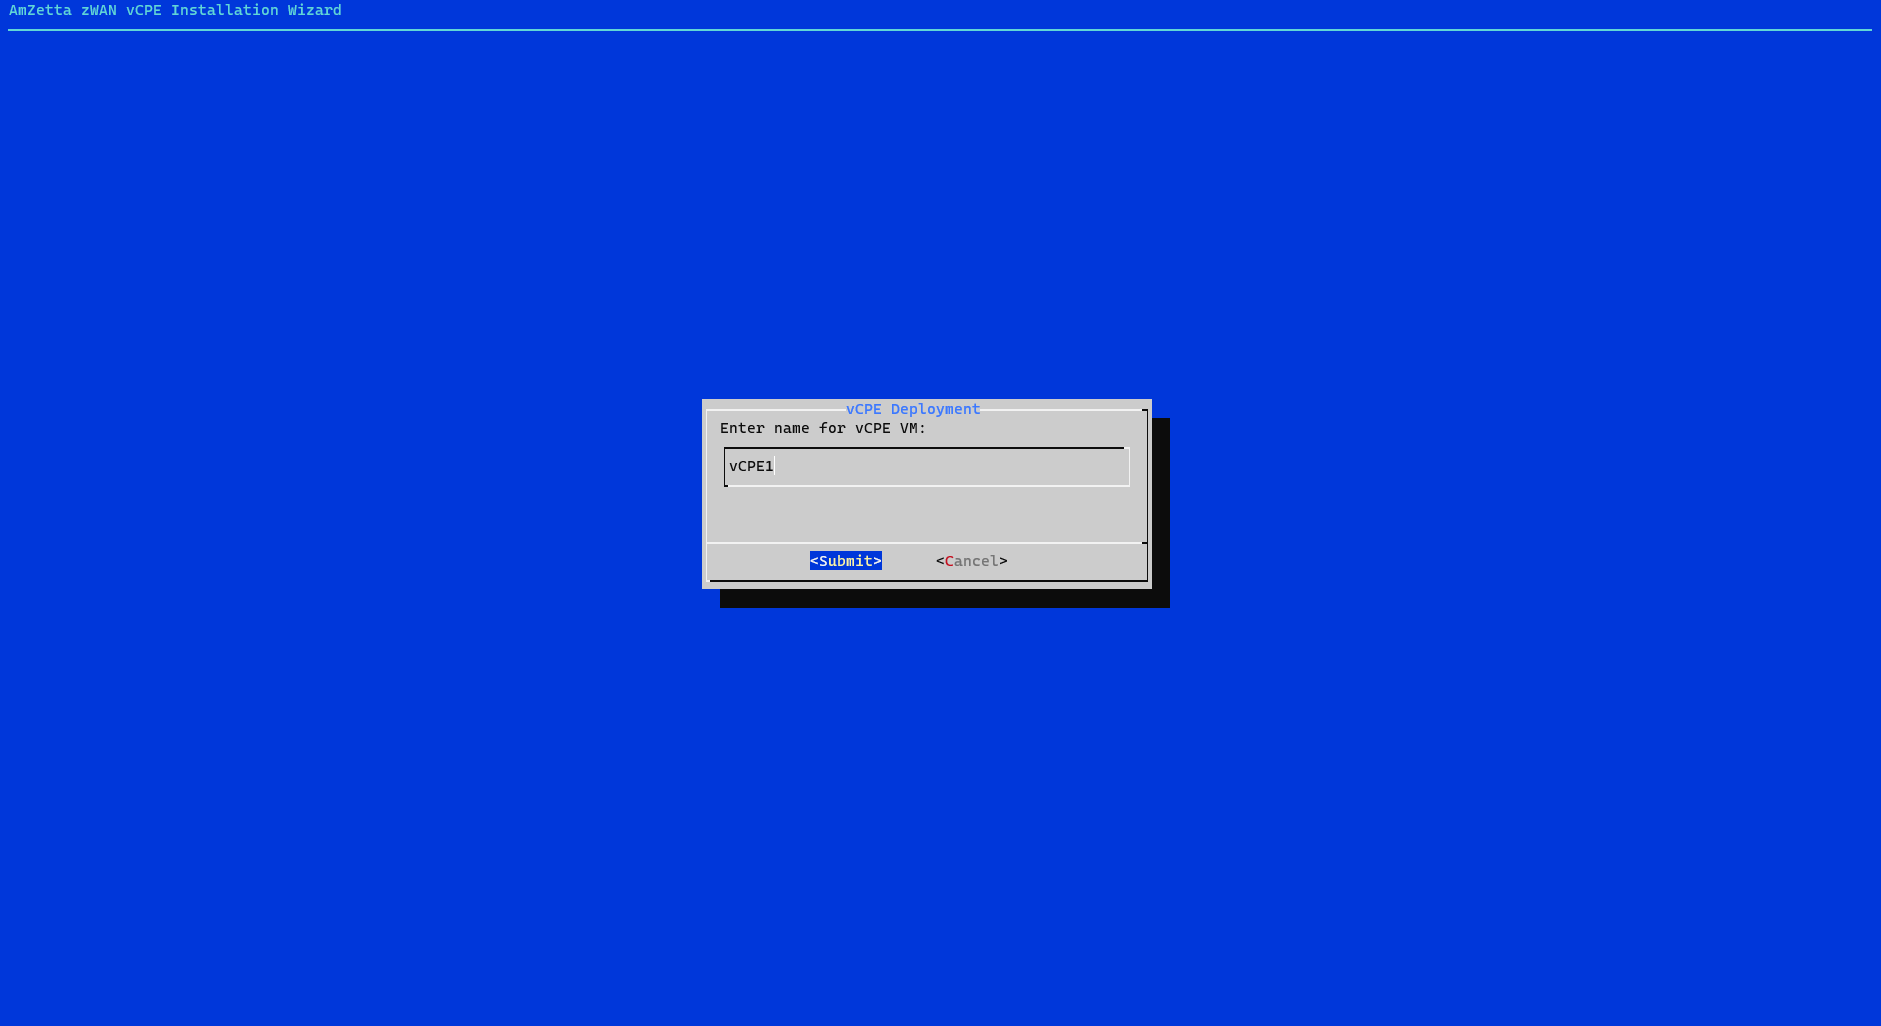
- You will next be asked a series of questions concerning the vCPE deployment:
- vCPE Name: The name that will be given to the vCPE VM deployed on the host server.
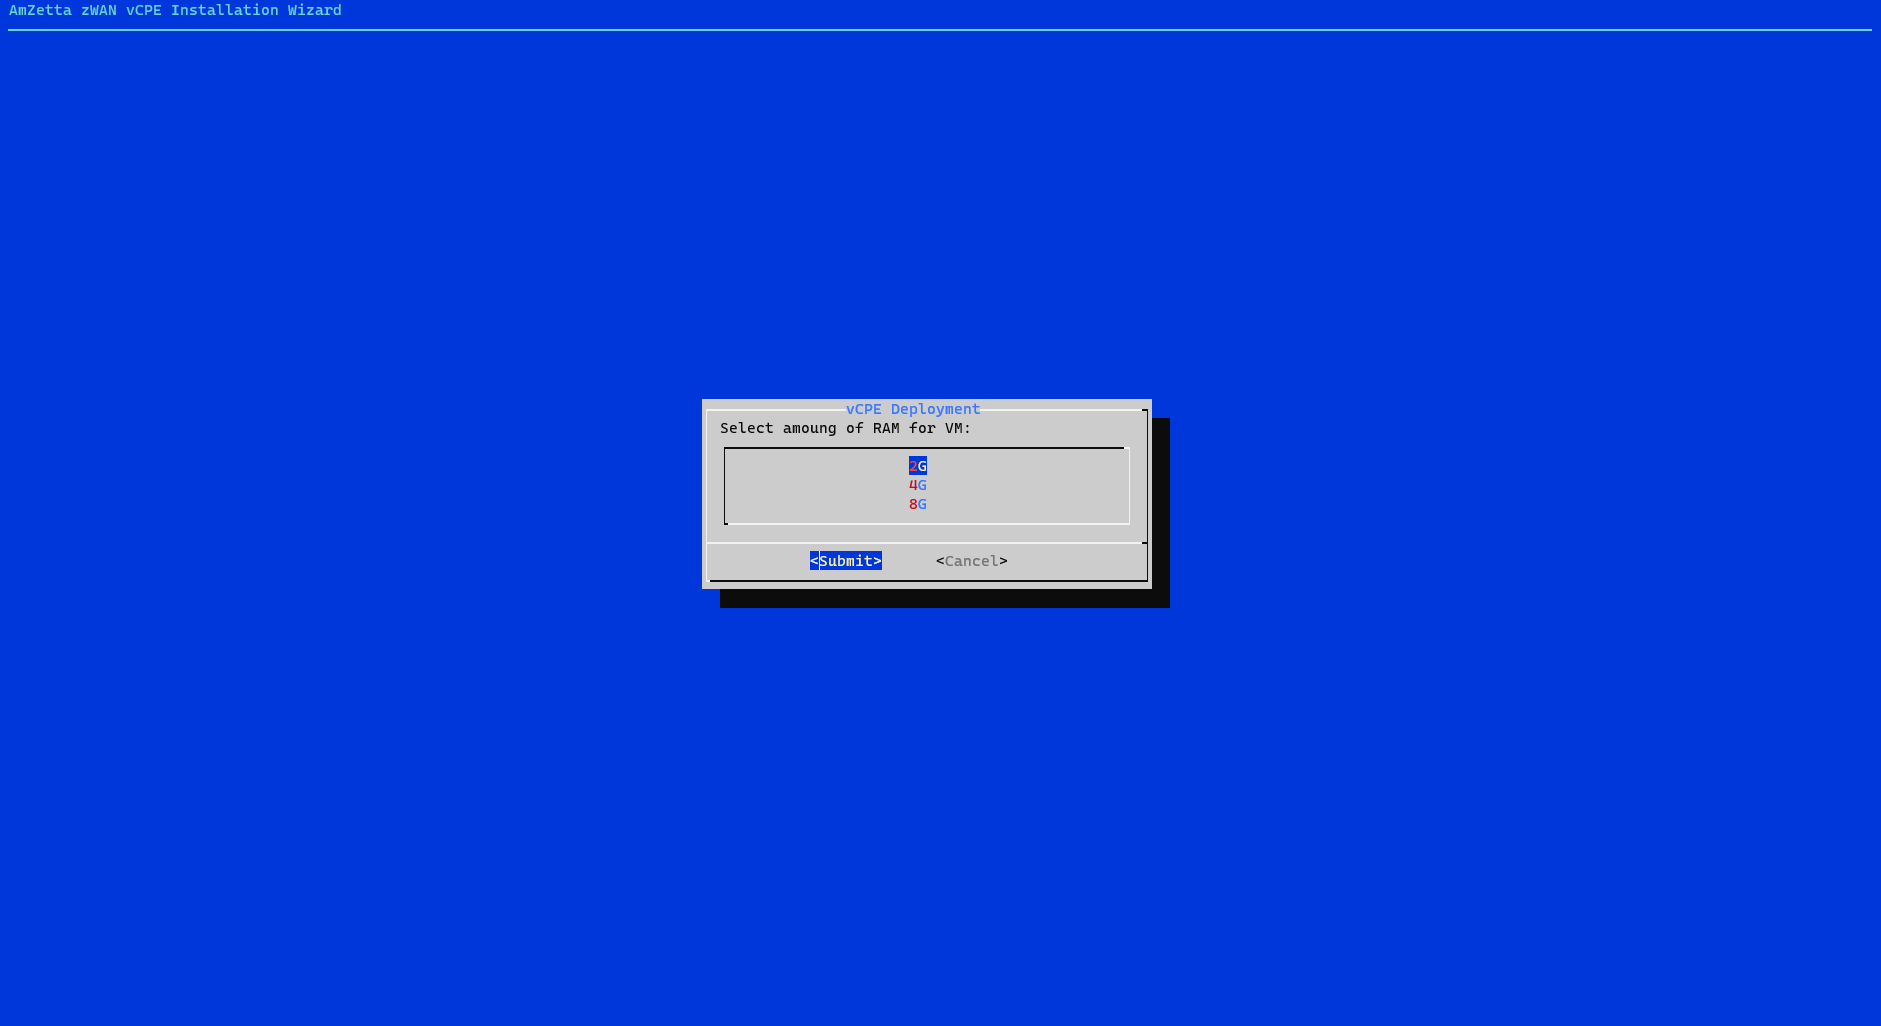
- vCPE RAM Size: How much RAM the vCPE VM will be allocated.
- vCPE CPU: How many virtual cores the vCPE VM will be allocated.

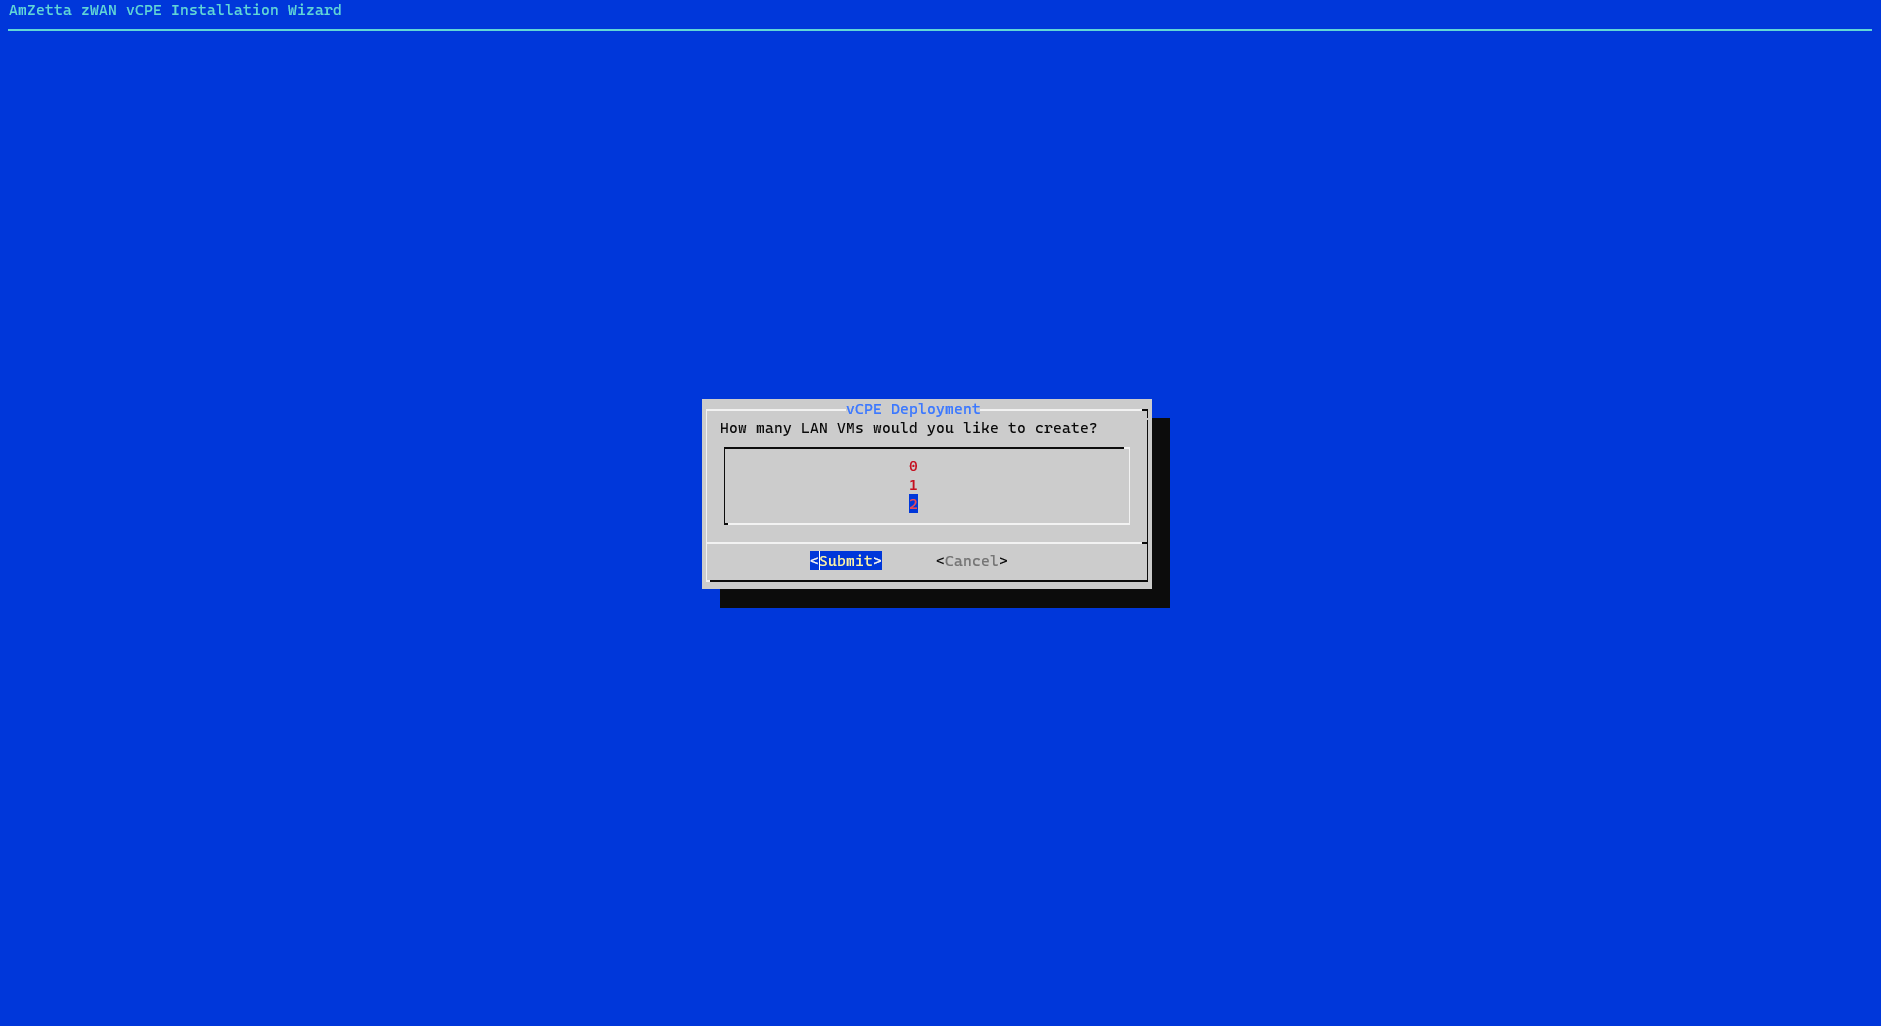
- LAN VMs: How many additional VMs you would like deployed on the LAN network. This setting is optional and is mainly used for testing purposes.
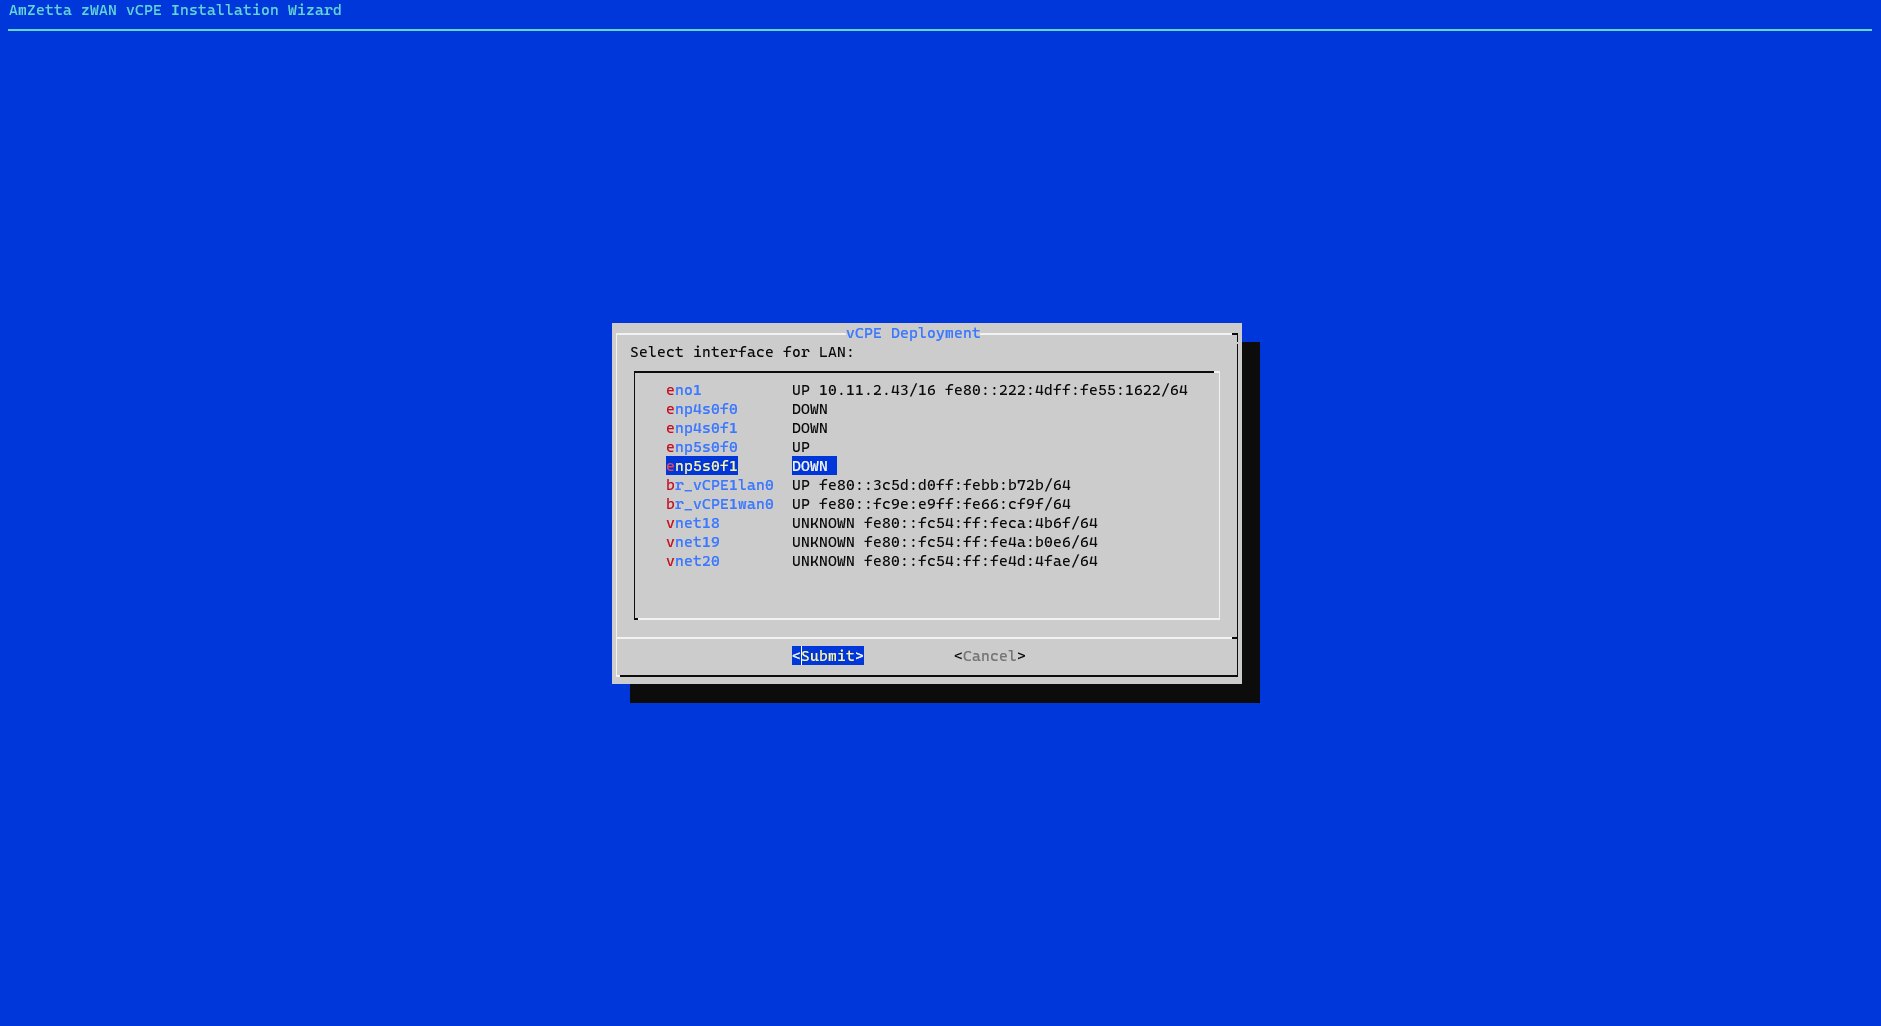
- Physical LAN Interface: Whether you would like the LAN interface on the VM to have a physical interface backing. This is required in order to communicate with other servers/desktops on the LAN network.

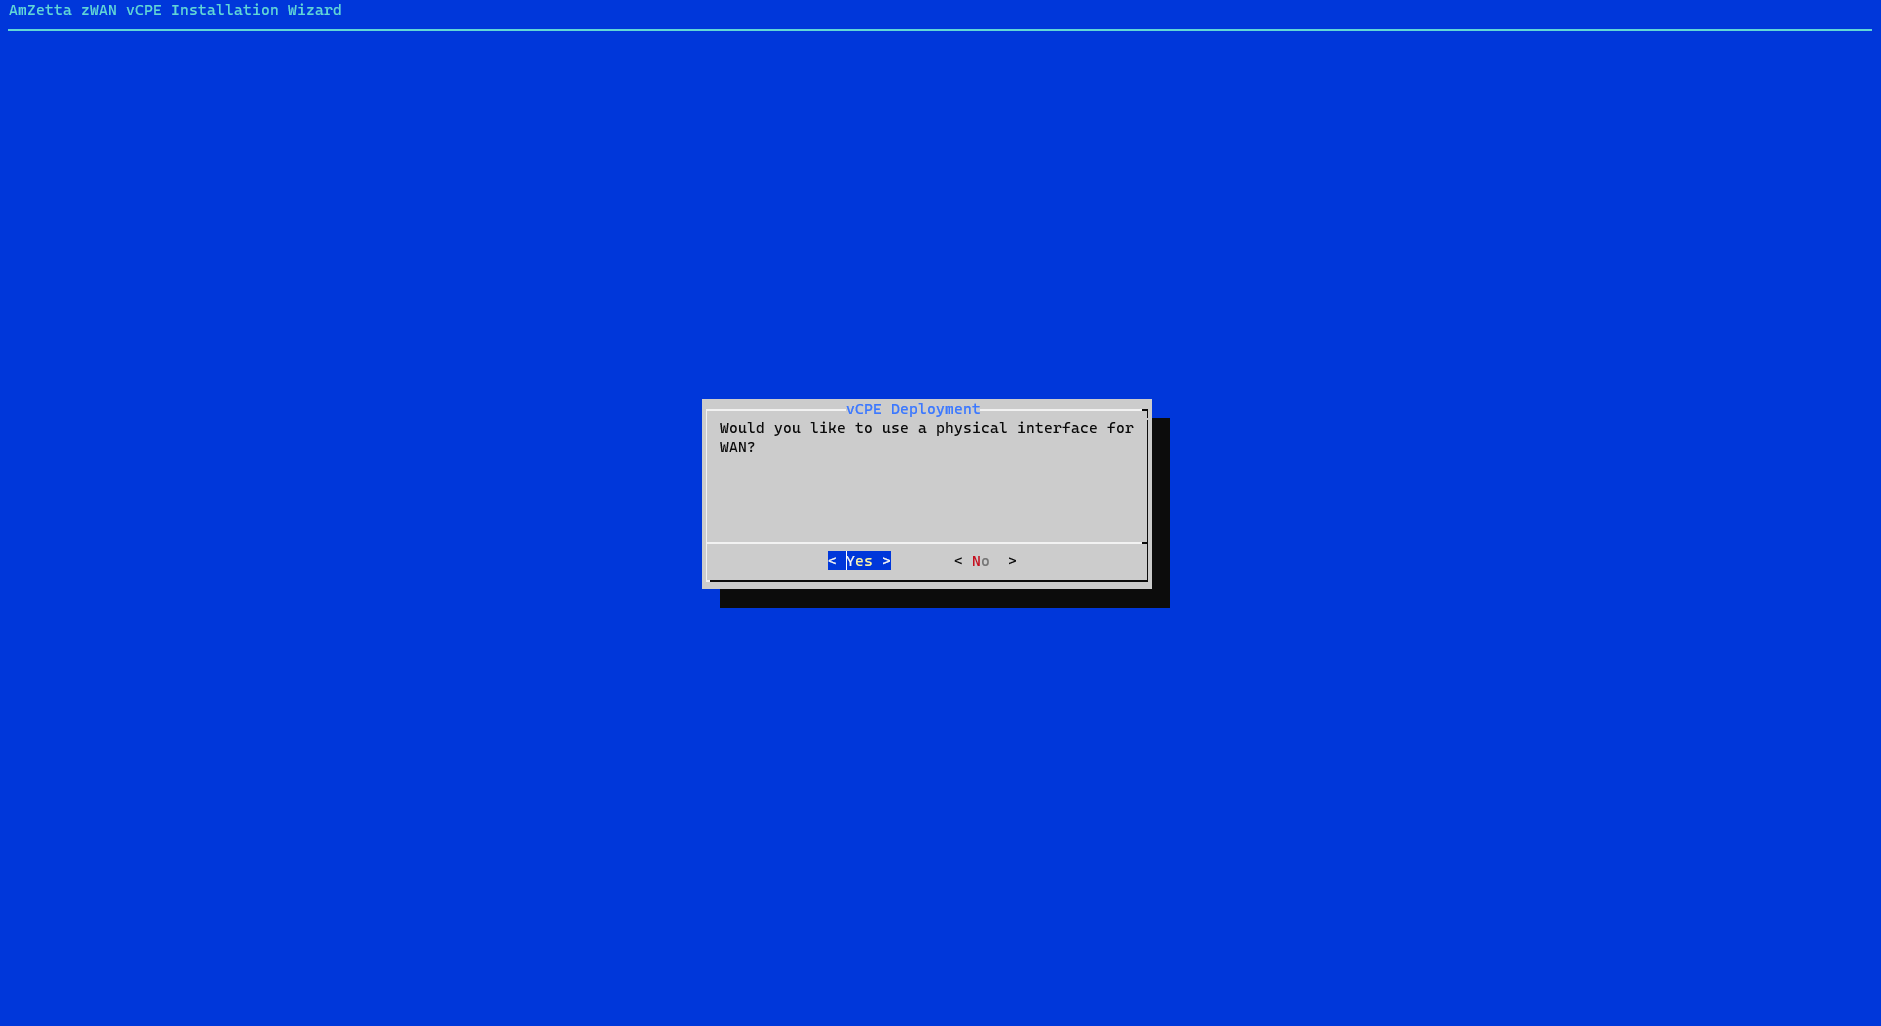
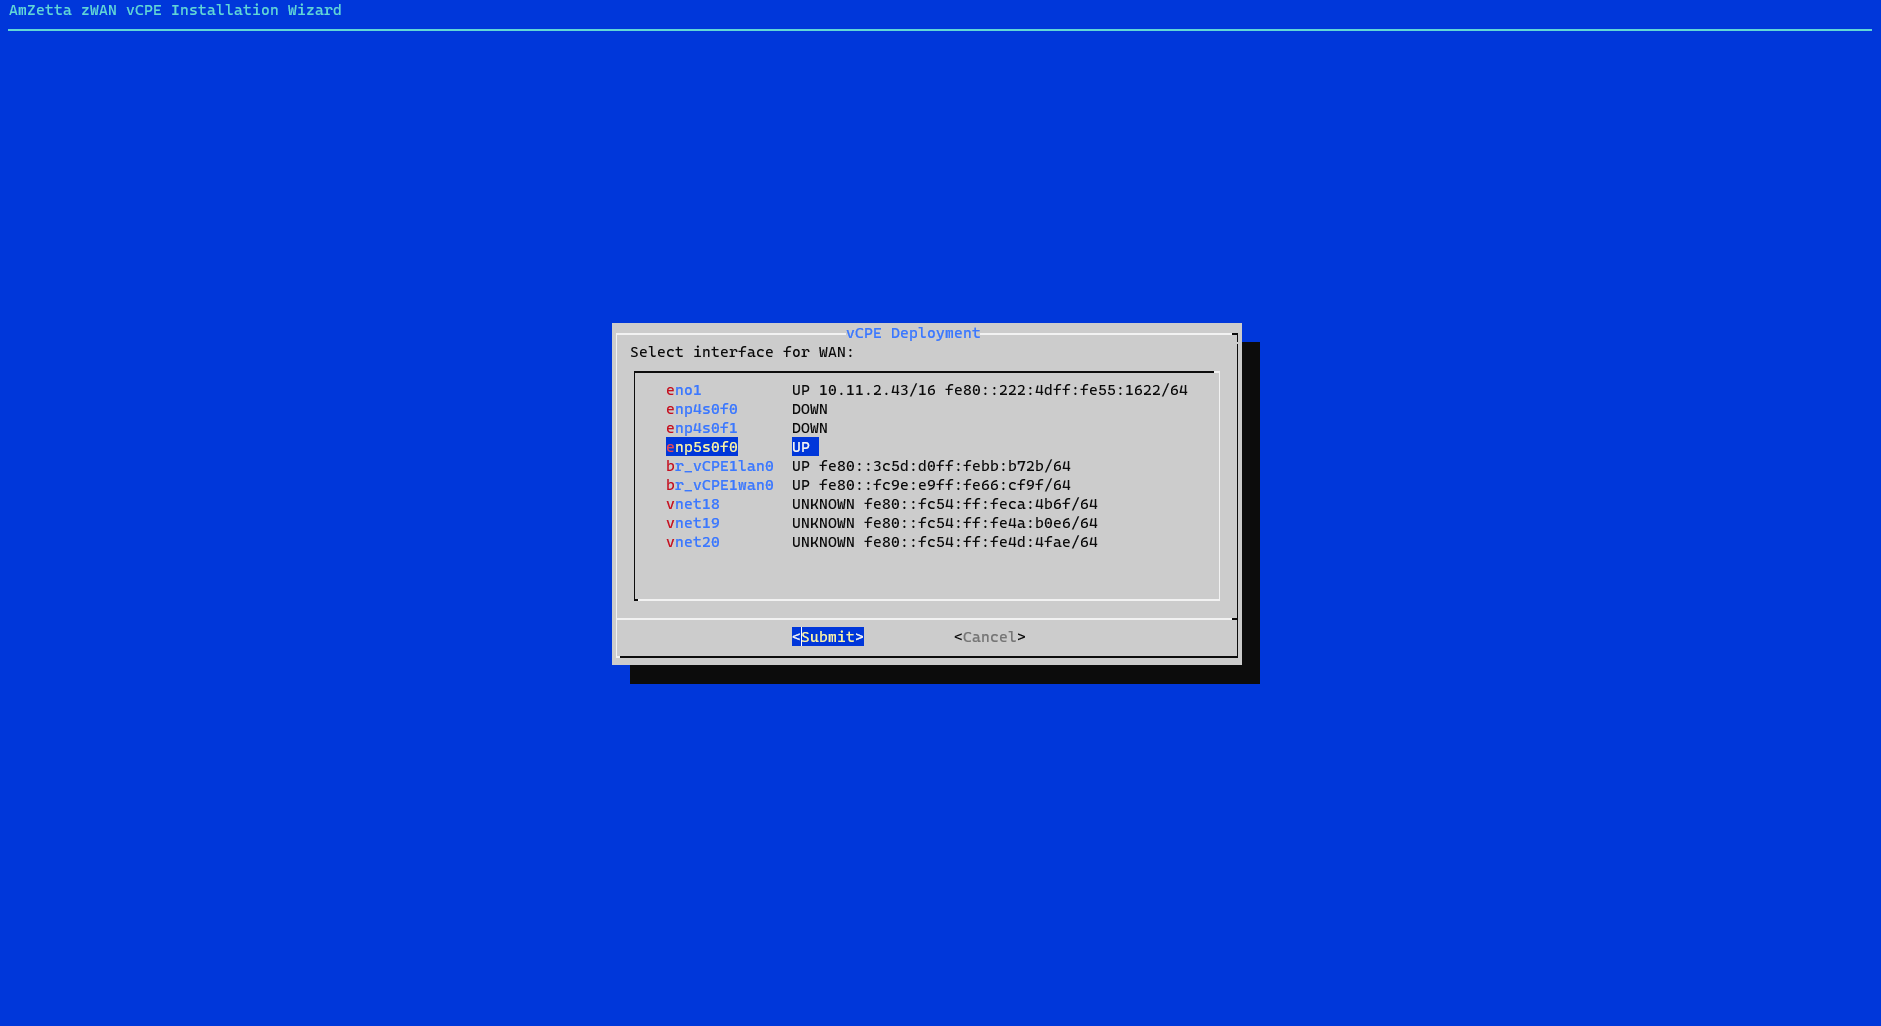
- Physical WAN Interface: Whether you would like the WAN interface on the VM to have a physical interface backing. This is required in order to communicate with the internet and the zWAN Director.
- vCPE Name: The name that will be given to the vCPE VM deployed on the host server.
- Deployment of the vCPE VM will now commence. This deployment may take a few minutes, depending on the amount of computing resources available on the host server as compared to the amount of resources allocated to the VM.

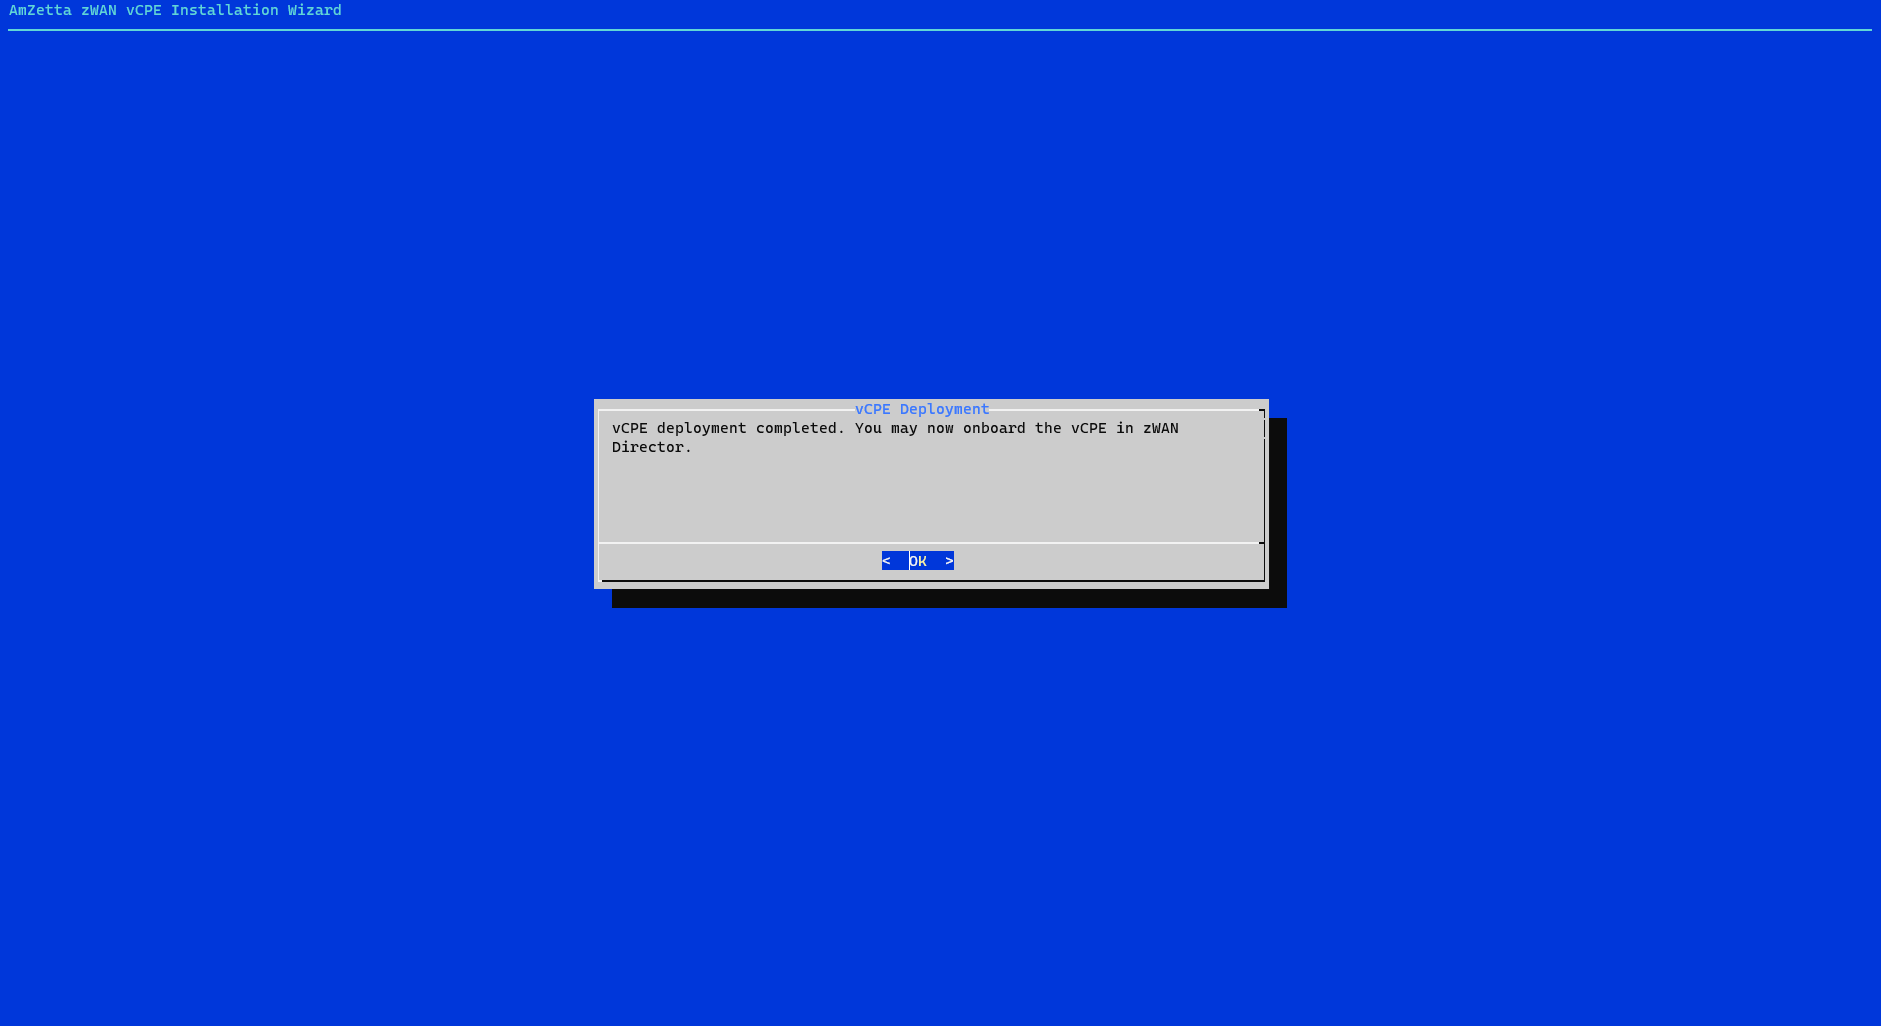
- Once the deployment is complete, you will be prompted with the following message. The vCPE is now installed and all you need to do now is onboard it in the zWAN Director and start configuring features on it. You may find onboarding steps in the Onboarding section of the zWAN Director KB.