-
SnapOS
-
-
- Articles coming soon
-
-
-
- Citrix HDX + USB Headset (Call-Center Baseline)
- OS/Firmware Update & Rollback
- Power Management and Session State
- Wi-Fi Roaming & Link Change Mid-Session
- Kiosk / Assigned-Access Auto-Launch
- Barcode Scanner (HID) with Line-of-Business App
- Printing to Local USB & Network Printers
- USB Device Management – Block Storage
- Multi-Monitor & 4K Performance
- Microsoft AVD/RDP + Teams Optimized Video
- VMware Horizon + Smart Card / CAC Login
-
-
-
-
zWAN
-
-
-
-
- Firewall & Layer 7 Application Filtering
- VPN Site-to-Site Tunnel Setup & Connectivity (z40 to Cloud vGR)
- Intrusion Prevention System (IPS) / Intrusion Detection System (IDS) Testing
- DNS Filtering
- DDoS Protection & Logging
- MAC Address Filtering & Geo-fencing
- Application Control & Protocol Blocking
- Authentication & Access Control (zID)
-
- WAN Link Failover & Load Balancing (ACI Mode)
- Dynamic Path Selection & Application-Aware Routing
- SaaS & Internet Breakout Validation
- QoS for Microsoft Teams (Datacenter vGR + Branch z40)
- Tunnel Failover (z40 ↔ vGR) — WAN00 (wired) primary, WAN03 (4G) & WAN04 (5G) backups
- IP Routing & Static Route Steering (z40 Branch)
- VLAN & Layer-2 Bridging
-
-
-
-
-
-
- Articles coming soon
-
-
-
-
- Articles coming soon
-
- Articles coming soon
-
-
-
-
-
-
- Articles coming soon
-
- Articles coming soon
-
- Articles coming soon
-
- Articles coming soon
-
-
-
-
-
- Articles coming soon
-
- Articles coming soon
-
- Articles coming soon
-
- Articles coming soon
-
-
-
-
-
- Articles coming soon
-
- Articles coming soon
-
- Articles coming soon
-
- Articles coming soon
-
-
- Articles coming soon
-
- IPsec Tunnel not Establishing
- SSL-VPN Tunnel not Establishing
- Mobile Network Issues
- Management Tunnel does not Establish
- DNS not Resolving from Local Network Appliance
- DNS Resolution Issues in Tunnel Configuration
- DHCP Server not Leasing IP to LAN PC
- Debugging EC Events - Unknown Status Issue
- Trusted-MAC Geofencing Issues
- DNS Issues from DC LAN PC
- Troubleshooting LAN Connectivity to Internet via WAN, Remote Branch LAN, or Local Branch LAN
- NetBalancer gateways displaying Faulty/Inactive
- Packet Drop Issues
-
-
zAccess
-
StorTrends
Print
SnapOS VM Install on Hyper-V
This article provides step-by-step instructions on how to install SnapOS 1.3.334 or higher on a Windows Hyper-V Virtual Environment.
Steps performed were on a Windows Server 2019 Hyper-V system but the same should apply on newer versions.
- Open Hyper-V manager, navigate to your created Hyper-V name and right click.
- Select New --> Virtual Machine
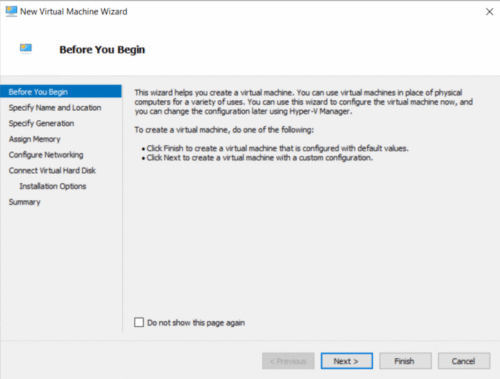
- Click Next.
- Give the VM a name and if you want the install to install in a specific directory, click the check box and Browse to the folder you want to have the VM installed. No need to create the folder yourself as it will be created automatically in the folder you've chosen with the VM name.
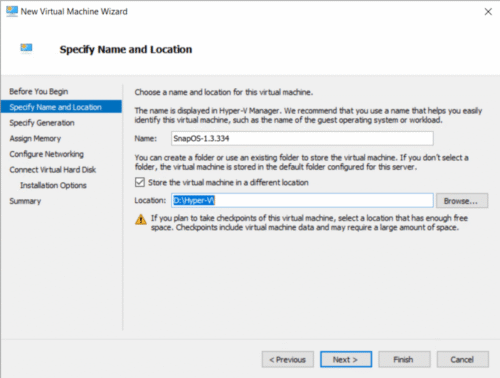
- Click Next.
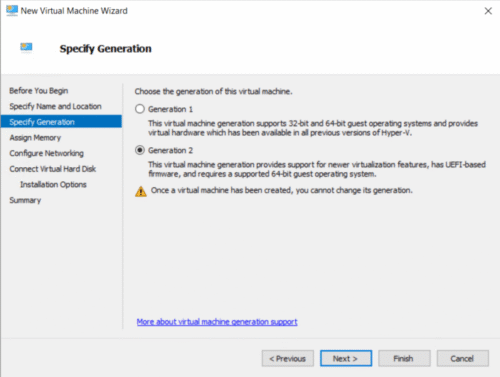
- Select Generation 2 and Click Next.
- Set the Startup Memory to 4096 MB.
- Check "Use Dynamic Memory for this machine."
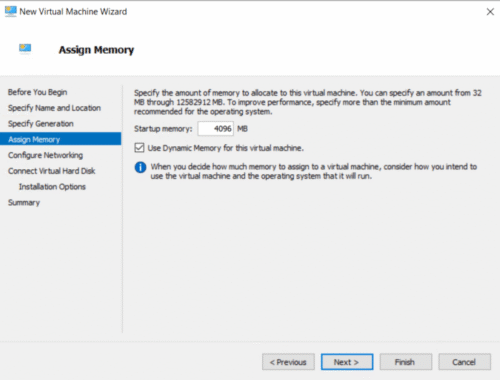
- Click Next.
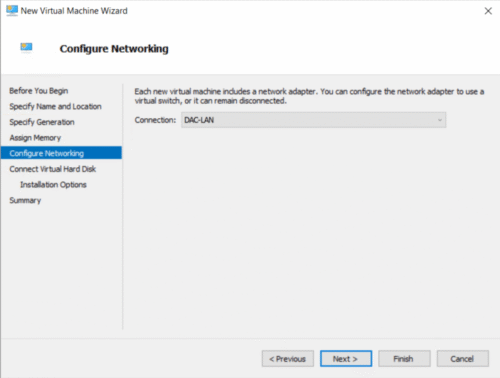
- Select the appropriate Network Connection for your VM and Click Next.
- Select "Create a virtual hard disk."
- Verify the name and location of the vHD.
- Set the size of the vHD to 40 GB (This is the minimum requirement.)
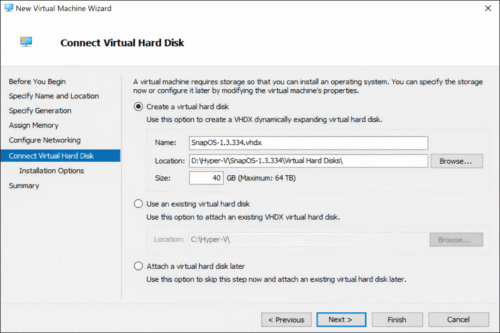
- Click Next.
- Select "Install an operating system from a bootable image file."
- Select Browse.
- Navigate to the directory where the SnapOS ISO is and select it.

Click Next.

- Verify the install details on the summary page and click Finish.
- Right click on the newly created VM and select Settings.
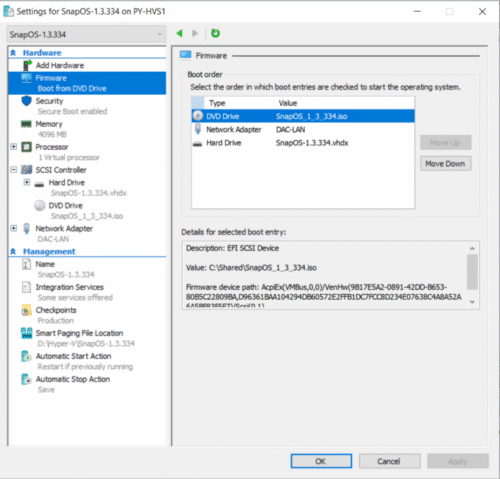
Perform the following changes in the settings page:
- Firmware - Move Network Adapter Down below the Hard drive.
- Security - Uncheck "Enable Secure Boot." (Mandatory - without this, SnapOS will not boot.)
- Processor - 4 vCPU
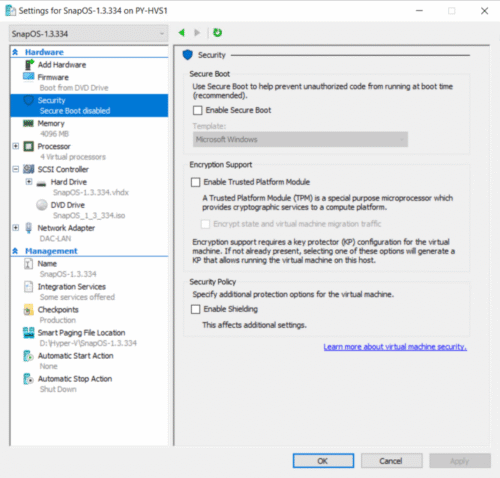
- Click Apply.
- Click OK.
Right Click the VM and then Click Connect and then Start.
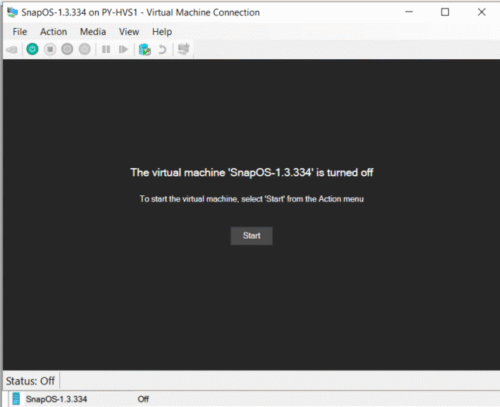
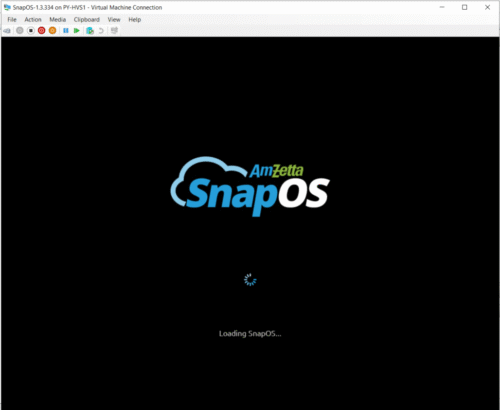
- You will see a black screen with Hyper-V text on the screen for a few seconds before being presented with the SnapOS loading screen.
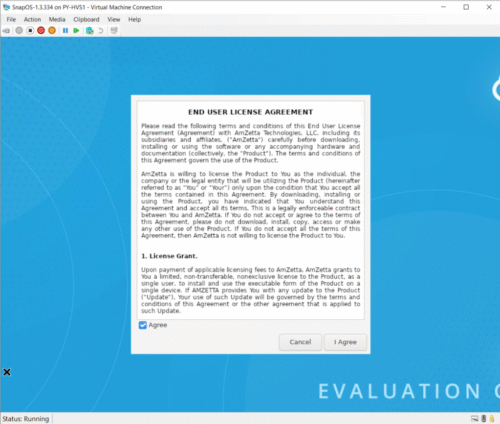
Once the EULA appears, Click the checkbox Agree and then Click I Agree.
- When you are ready double Click SnapOS Installer on the desktop.
- Important! Installing SnapOS will completely wipe the disk it is installing to, please make sure of the correct disk before continuing.
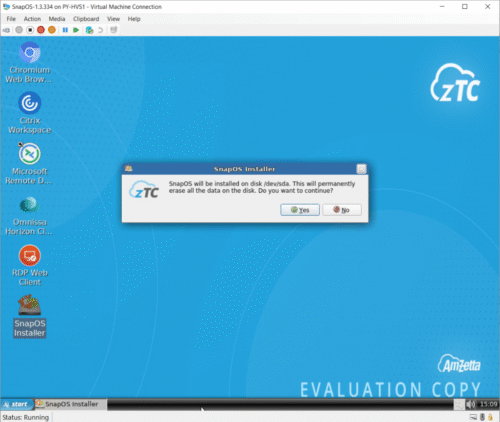
- Click Yes.
- Once the install complete, you will be presented with the following screen.
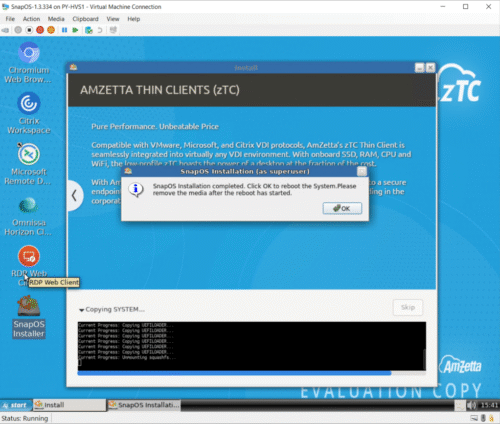
Click OK.
- Power off the VM before it fully reboots.
- Remove the ISO
- Power On the VM with it booting to the vHD.
Table of Contents