zID
User creation in zID
Launch the URL http://10.200.48.100:8082/ in browser
Credentials – admin/zWAN@teamw0rk
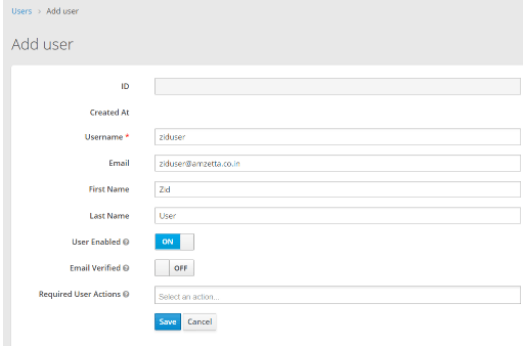
1. Go to user’s page and click add user
2. Give user name, email id and save it (Email id is must)
3. Go to credentials and enter a password and click off for the temporary option and click set password.
4. Provider yes in the user confirmation dialog box.

OTP Configuration in zID
1. Go to authenticationàrequired actionsàenable configure OTP

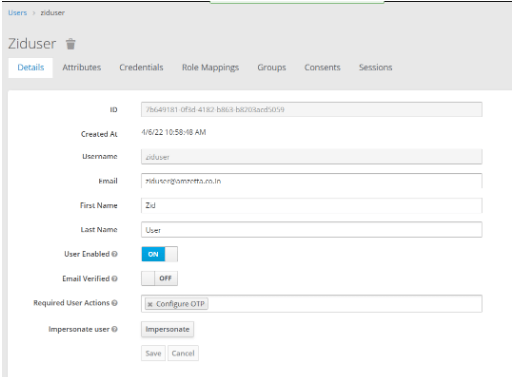
2. Go to users and select the user click on required actions and select configure OTP and save it
![]()
3. Install google authenticator or free OTP app in mobile
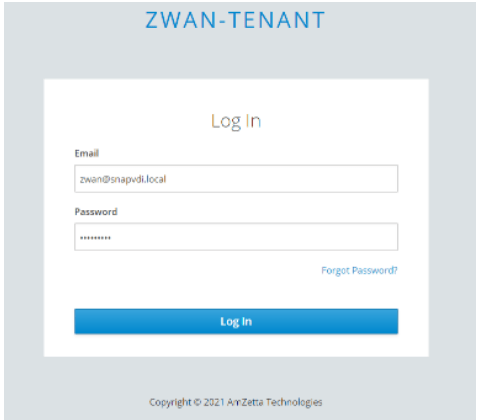
4. Login to provider with the user which is created in zID. ”
5. Give the registration OTP to register the user by giving OTP and device name.
6. After that need to give OTP for every login
Configuring the User Federation
Add User Federation
1. Select the User Federation under Configure section

2.Select LDAP from the Add provider dropdown in right section
3.Provide the following data in the settings page:
4. Enabled >ON
5. Provide Console display name and Priority
6. Import users > ON
7. Select writable in Edit mode.
8. Sync Registrations à ON
9. Select Active Directory in vendor list.
10. Username LDAP attribute and RDN LDAP attribute will be provided as sAMAccountName
11. Provide UUID LDAP attribute as object GUID
12. Provide User Object classes with all possible container classes of users we have in AD (eg: user)
13. Provide Connection URL ldap://AD_IP:port (eg: ldap://10.200.48.2:389)

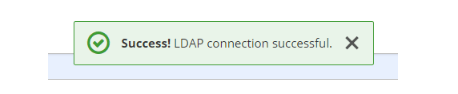
14. Verify the connection by click Test connection (It should be successful)
15. Provide Users DN with full DN of LDAP tree with all ou and DN tree (eg: dc=snapvdi,dc=local)
16. Bind Type > simple
17. Enable Start TLS can be ON/OFF. Select off for initial config
18. Bind DN should be provided with DN of our LDAP Admin account (eg: cn=Administrator,cn=Users,dc=snapvdi,dc=local )
19. Bind Credential should be provided with password to access LDAP Server(eg: Snapvdi@)

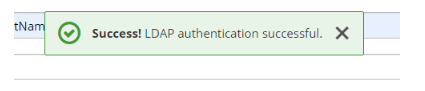
20. Click test authentication, authentication should be successful.
21. Custom User LDAP filter can be left as it is
22. Search Scope > Subtree
23. Validate Password Policy and Trust Email can be left as it is
24. User Truststore SPI à Only for ldaps
25. Remaining settings can be left as default one

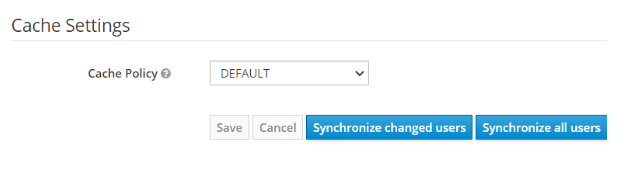
26. Click Save to save the settings configured
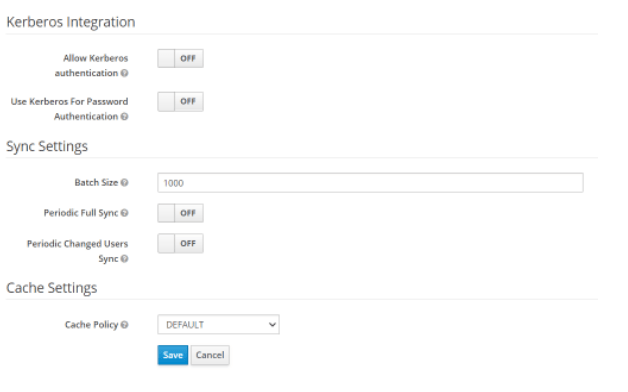
27. Click Synchronize all users to update all ldap users to be mapped to zID.
28. Click Synchronize changes users if any new users created /modified.
Note: Email Address is must for AD and non-AD users. Then only we can assign roles from provider UI.
Configuring the Admin role users for zID users in Provider UI
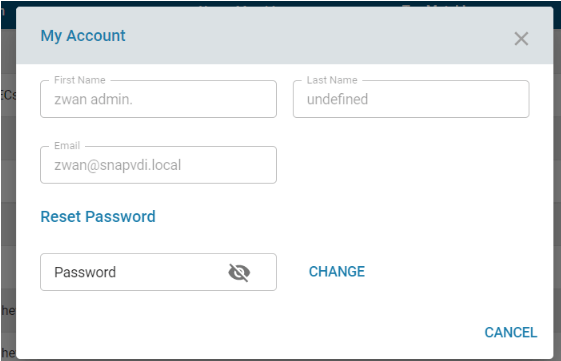
1. Login to provider UI > users > select the user which is created in zID and click edit
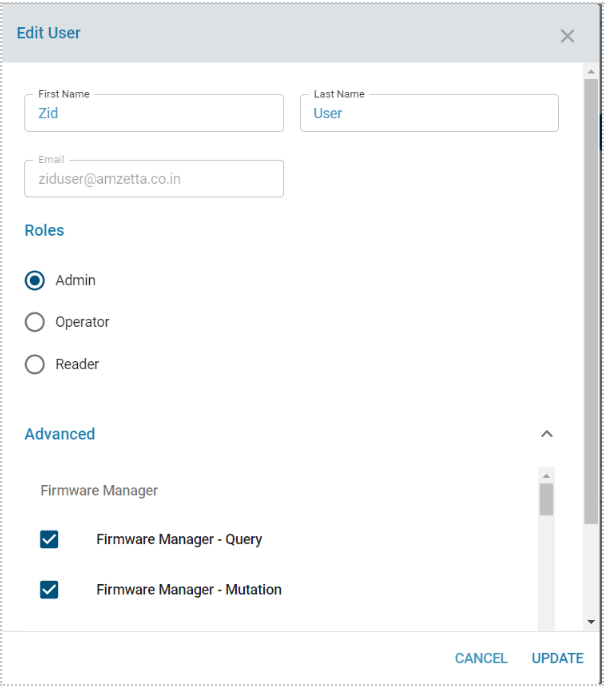
2. Assign the roles and update it
3. Login to provider with the created user
Configuring the Admin role users for AD users in Provider UI
Login to provider UI > users > select the user which is synced from AD and click edit
1. Assign the roles and update it
2. Login to provider with the AD user
Remove the configured OTP from users and settings in zID
1. Go to authentication > required actions > disable configure OTP
2. Go to users > select the user > required actions > remove configure OTP and save it
Configuring google as identity provider
Add Identity Provider as Google
1. Select the Identity providers under Configure section
2. Select Google under social
3. Copy the Redirect URI , click the link to continue
Create a Project in Google
1. Launch the URL https://console.cloud.google.com/getting-started in browser
2. Login to gmail account
3. Click Create Project
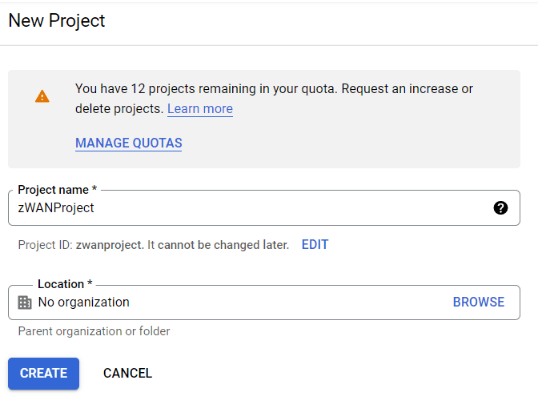
4. Give the Project and click create
5. Once created the project go to project location
6. In getting started menu, click Explore and enable API’s

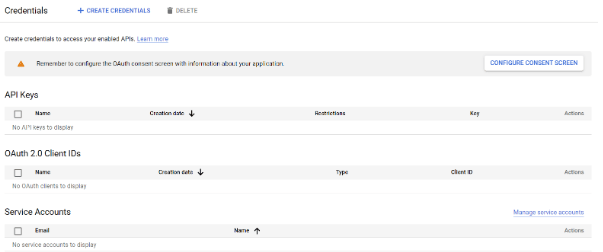
7. Click credentials and click configure consent screen
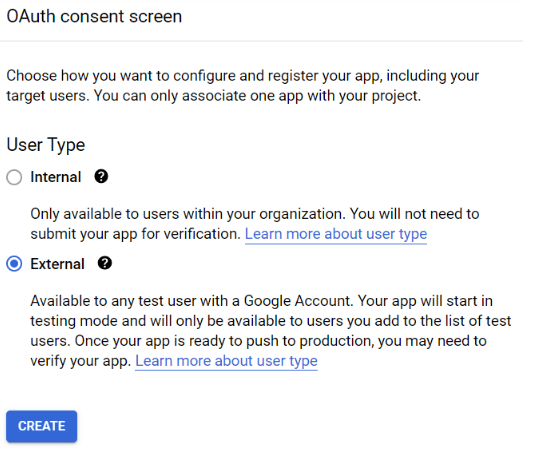
8. Select External and click create
9. In app registration page, give the mail address and click save and continue
10. Click save and continue for the remaining options.
11. Click Back to Dashboard
12. Again go to credentials and click O Auth Client ID
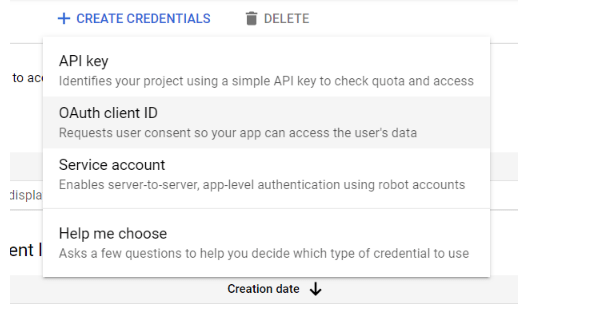
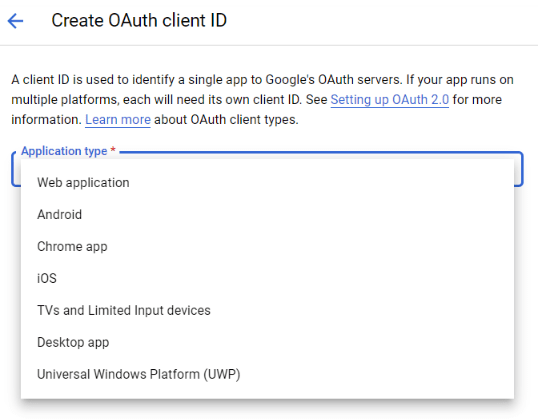
13. Select Web Application
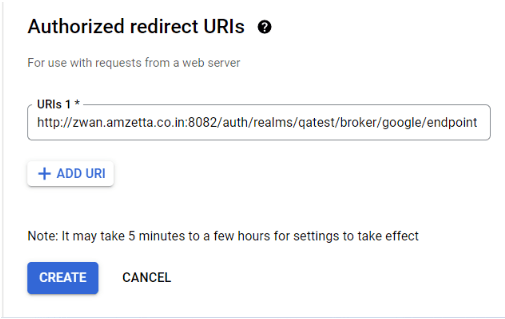
14. Provide application name, authorized redirect URI which one copied from ZID identity provider page. Ex: http://zwan.amzetta.co.in:8082/auth/realms/qatest/broker/google/endpoint
15. OAuth client will create with client ID and secret code.
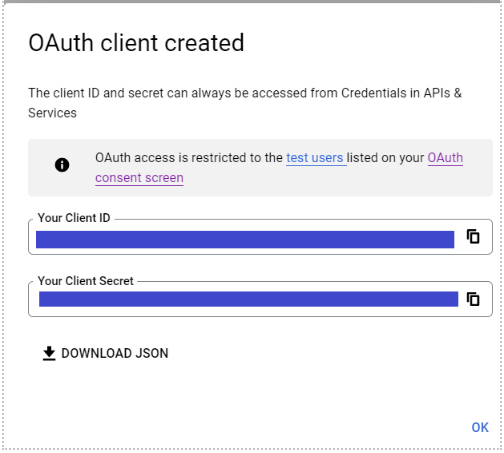
16. Copy the client ID and secret code
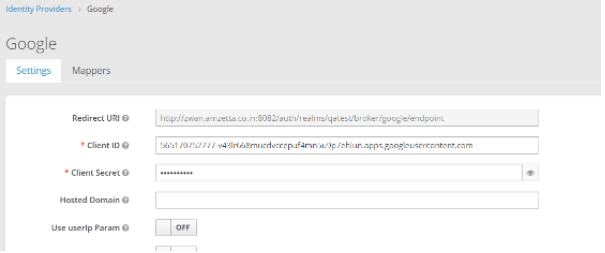
Add Identity Provider as Google Continued
4. Go to ZID Page, give the client ID, secret code, left as default for remaining options and save it.
5. Now login to Provider UI, google authentication will be shown in UI.
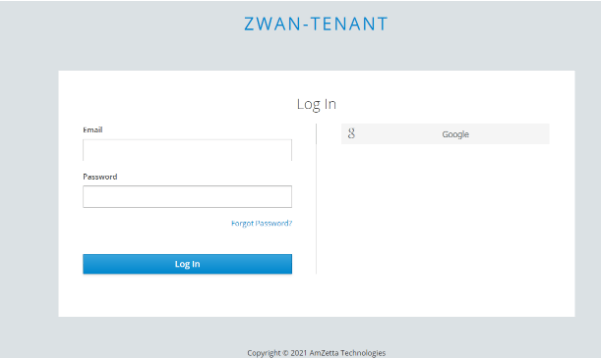
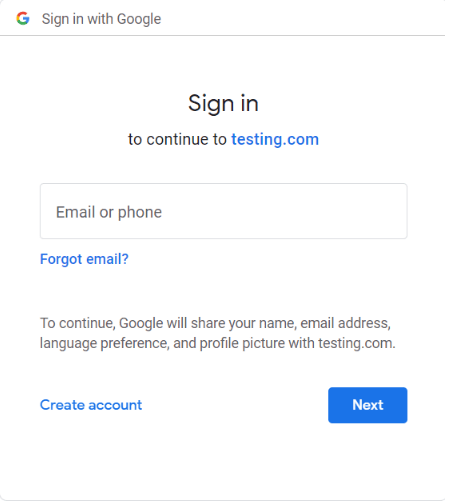
6. Give the valid user credentials and login.
Reference
https://keycloakthemes.com/blog/how-to-setup-sign-in-with-google-using-keycloak